2023.07.21 - [DeepLearning/YOLO] - [YOLOv8] YOLOv8 install windows 10
[YOLOv8] YOLOv8 install windows 10
YOLOv8 설치 정리 https://github.com/ultralytics/ultralytics GitHub - ultralytics/ultralytics: NEW - YOLOv8 🚀 in PyTorch > ONNX > OpenVINO > CoreML > TFLite NEW - YOLOv8 🚀 in PyTorch > ONNX > OpenVINO > CoreML > TFLite - GitHub - ultralytics/ultra
wjs7347.tistory.com
2023.07.21 - [DeepLearning/YOLO] - [YOLOv8] YOLOv8 Export, Pytorch to TensorRT
[YOLOv8] YOLOv8 Export, Pytorch to TensorRT
이전 포스팅 2023.07.21 - [DeepLearning/YOLO] - [YOLOv8] YOLOv8 install windows 10 [YOLOv8] YOLOv8 install windows 10 YOLOv8 설치 정리 https://github.com/ultralytics/ultralytics GitHub - ultralytics/ultralytics: NEW - YOLOv8 🚀 in PyTorch > ONNX
wjs7347.tistory.com
YOLOv8 Export, Pytorch to ONNX, ONNX to TensorRT
- 이전 포스트와는 다른 방법으로 Pytorch 모델을 ONNX, TensorRT로 Export 하는 방법을 소개.
1. Pytorch to ONNX
- Python 환경에서 아래 코드로 Pytorch model을 ONNX model로 Export.
from ultralytics import YOLO

# Load a model
model = YOLO('yolov8n.pt')

# Export the model
model.export(format='onnx', device=0)- format='onnx' : export format을 onnx로 지정.
- device=0 : 첫 번째 GPU 선택.
2. ONNX to TensorRT
- 이전 포스트에서는 Pytorch model을 바로 TensorRT로 변환해 줬지만, c++ 환경에서 해당 모델을 불러오니 버전이 안 맞는 문제가 발생. 그래서 직접 ONNX model로 변경하고 이를 TensorRT로 직접 변경해주려고 함.
2-1) 설치된 TensorRT 실행 폴더로 이동
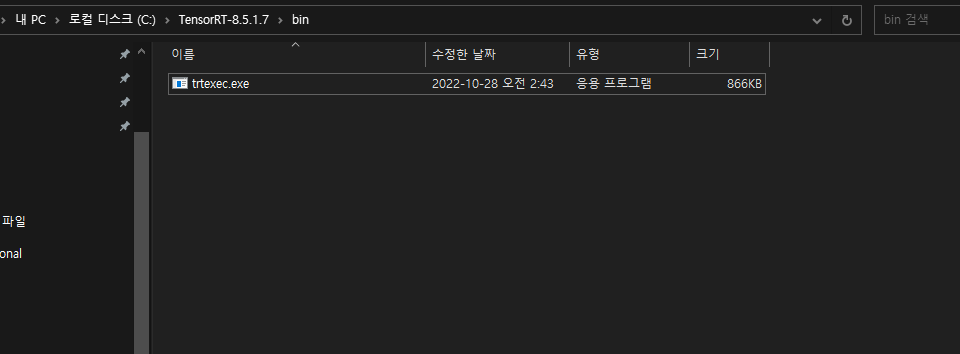
2-2) TensorRT-version/bin에서 cmd 창을 실행 아래 command를 입력
trtexec.exe --onnx={path/onnx_model.onnx} --saveEngine={path/engine_model.engine} --verbose
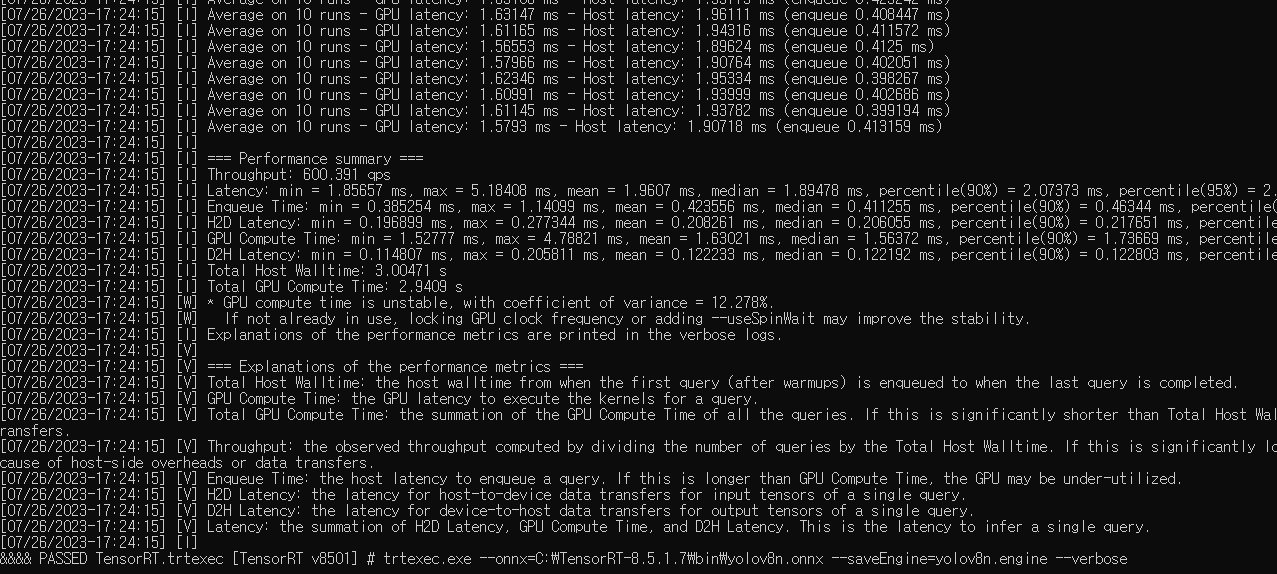
2-3) TensorRT model 생성 확인

끝.
'DeepLearning > YOLO' 카테고리의 다른 글
| [YOLOv8] YOLOv8 Custom Train, 사용자 데이터 학습 (0) | 2023.11.14 |
|---|---|
| [YOLOv8] YOLOv8 TensorRT C++(CPP) Inference (15) | 2023.09.04 |
| [YOLOv8] YOLOv8 Export, Pytorch to TensorRT (0) | 2023.07.21 |
| [YOLOv8] YOLOv8 install windows 10 (0) | 2023.07.21 |
| [YOLO] yolov7 windows install 및 detect test (0) | 2022.12.09 |