2023.07.26 - [DeepLearning/YOLO] - [YOLOv8] YOLOv8 Export, Pytorch -> ONNX -> TensorRT
[YOLOv8] YOLOv8 Export, Pytorch -> ONNX -> TensorRT
2023.07.21 - [DeepLearning/YOLO] - [YOLOv8] YOLOv8 install windows 10 [YOLOv8] YOLOv8 install windows 10 YOLOv8 설치 정리 https://github.com/ultralytics/ultralytics GitHub - ultralytics/ultralytics: NEW - YOLOv8 🚀 in PyTorch > ONNX > OpenVINO > Core
wjs7347.tistory.com
YOLOv8 TensorRT model(.engine)을 cpp 환경에서 추론하는 방법을 소개.
1. 활용 오픈소스
- 아래 두 가지 오픈 소스를 활용하여 구성.
1) YOLOv8-TensorRT-CPP
https://github.com/cyrusbehr/YOLOv8-TensorRT-CPP
GitHub - cyrusbehr/YOLOv8-TensorRT-CPP: YOLOv8 TensorRT C++ Implementation
YOLOv8 TensorRT C++ Implementation. Contribute to cyrusbehr/YOLOv8-TensorRT-CPP development by creating an account on GitHub.
github.com
2) tensorrt-cpp-api
https://github.com/cyrusbehr/tensorrt-cpp-api/tree/ec6a7529a792b2a9b1ab466f2d0e2da5df47543d
GitHub - cyrusbehr/tensorrt-cpp-api: TensorRT C++ API Tutorial
TensorRT C++ API Tutorial. Contribute to cyrusbehr/tensorrt-cpp-api development by creating an account on GitHub.
github.com
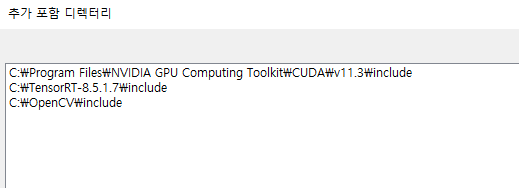
2. 필요 lib 연결
- YOLOv8-TensorRT-CPP에서 yolov8.cpp, yolov8.h를 활용.
- tensorrt-app-api에서 engine.cpp, engine.h를 활용.
- 또한 TensorRT, CUDA, OpenCV 필요 라이브러리 포함.
3. main.cpp 작성
1) onnx path를 통해 YoloV8 객체 생성
const std::string onnxModelPath = "D:/project2023/yolov8_cpp/model/yolov8n.onnx";

int main(int argc, char* argv[]) {
	YoloV8 yoloV8(onnxModelPath);

// ...- onnx를 통해 YoloV8 클래스 객체를 생성한다.
- onnx 파일을 통해 tensorrt model을 빌드하는데, 이미 engine 파일이 있다면 빌드 과정을 생략.
- onnx 없이 .engine 파일로만 객체 생성을 할 수 있는데 이는 코드를 수정해야 함.
2) 영상 수신 및 model inference
	// ...

    YoloV8 yoloV8(onnxModelPath);

	cv::VideoCapture cap(videoPath);
	if (!cap.isOpened())
		return -1;

	while (true) {
		clock_t s_time = clock();

		cv::Mat img;
		cap >> img;

		if (img.empty())
			continue;

		// Run inference
		const auto objects = yoloV8.detectObjects(img);

		// Draw the bounding boxes on the image
		yoloV8.drawObjectLabels(img, objects);

		double t_time = (double)(clock() - s_time) / CLOCKS_PER_SEC;

		cv::putText(img, cv::format("%.3lf ms", t_time), cv::Point(20, 50), 0, 1, cv::Scalar(0, 255, 0), 2);

		// Display the results
		cv::imshow("Object Detection", img);
		if (cv::waitKey(1) >= 0) {
			break;
		}
	}

return 0;- 예시 영상을 수신하고 영상 frame에 대한 detection을 진행.
- detectObjects : cv::Mat을 인자로 detection.
- drawObjectLabels : detectObjects 결과를 인자로 결과를 draw.
3) 전체 코드
#include "yolov8.h"
#include "header.h"
#include <time.h>
const std::string onnxModelPath = "D:/project2023/yolov8_cpp/model/yolov8n.onnx";
const std::string videoPath = "D:/project2023/yolov8_cpp/video.mp4";
int main(int argc, char* argv[]) {
if (!doesFileExist(onnxModelPath)) {
std::cout << "Error: Unable to find file at path: " << onnxModelPath << std::endl;
return -1;
}
if (!doesFileExist(videoPath)) {
std::cout << "Error: Unable to find file at path: " << videoPath << std::endl;
return -1;
}
YoloV8 yoloV8(onnxModelPath);
cv::VideoCapture cap(videoPath);
if (!cap.isOpened())
return -1;
while (true) {
clock_t s_time = clock();
cv::Mat img;
cap >> img;
if (img.empty())
continue;
// Run inference
const auto objects = yoloV8.detectObjects(img);
// Draw the bounding boxes on the image
yoloV8.drawObjectLabels(img, objects);
double t_time = (double)(clock() - s_time) / CLOCKS_PER_SEC;
cv::putText(img, cv::format("%.3lf ms", t_time), cv::Point(20, 50), 0, 1, cv::Scalar(0, 255, 0), 2);
// Display the results
cv::imshow("Object Detection", img);
if (cv::waitKey(1) >= 0) {
break;
}
}
return 0;
}
4. 결과
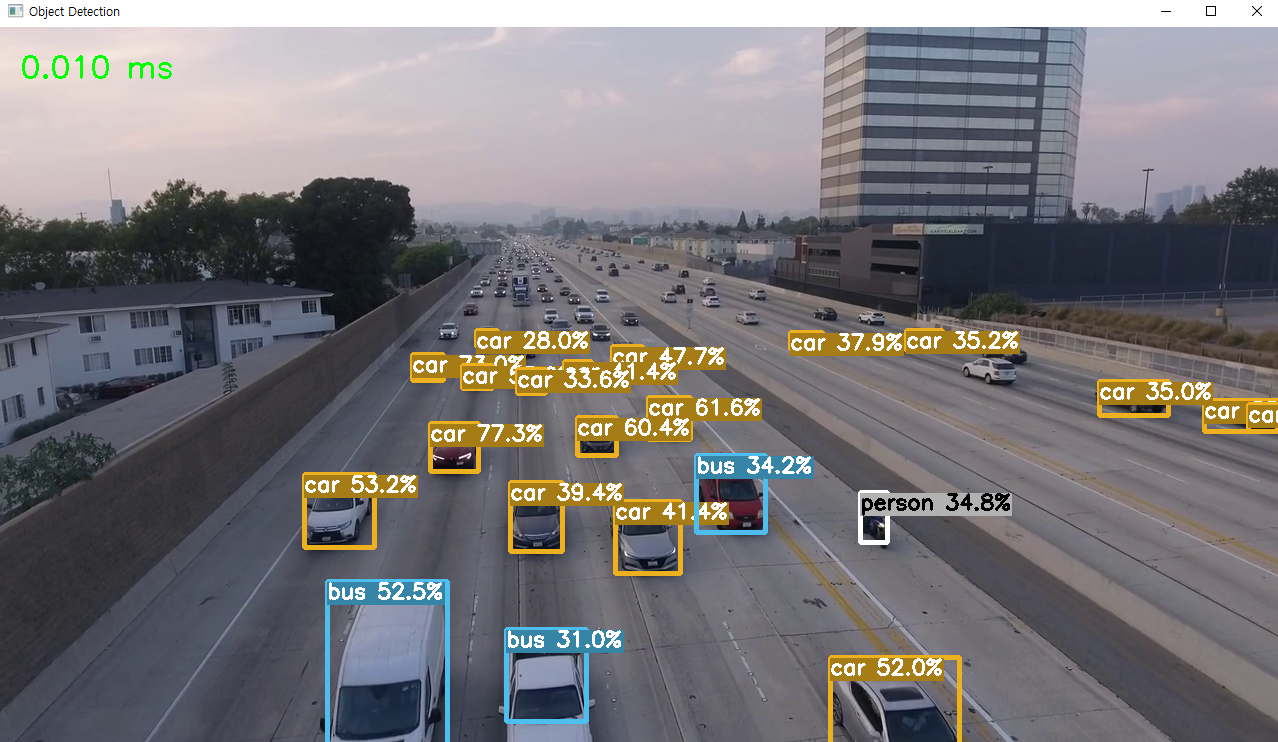
끝.
'DeepLearning > YOLO' 카테고리의 다른 글
| [YOLO] YOLOv8 OpenVINO Convert & Inference (Python) (0) | 2024.02.01 |
|---|---|
| [YOLOv8] YOLOv8 Custom Train, 사용자 데이터 학습 (0) | 2023.11.14 |
| [YOLOv8] YOLOv8 Export, Pytorch -> ONNX -> TensorRT (0) | 2023.07.26 |
| [YOLOv8] YOLOv8 Export, Pytorch to TensorRT (0) | 2023.07.21 |
| [YOLOv8] YOLOv8 install windows 10 (0) | 2023.07.21 |